It's another 2 months + since my last posting and sometimes, I really thought of giving up this blog since I hardly have time to update it, and probably no one reads it now. But one thing that is for sure is that, I have never forget all the food bloggers out there whom I have been following for the past few years. I may be silent, but that doesn't mean I lost all my past passion, just the fact that committments have changed so lesser time is devoted to blogging or posting a comment. I believe this is true for all food bloggers or those who have stopped blogging. Once the passion for baking / cooking is found in you, it will never stop.
So I decided that anytime I feel like updating my blog, I would just do it!
This post is all about my new home.. which is a really outdated post as I've already moved in for 3 months++. I've cooked more than I baked in this new kitchen and loving every moment and every bit of my kitchen. Still a noob in cooking, I'm glad that my hubby is not fussy and eat whatever is my new "experiments".
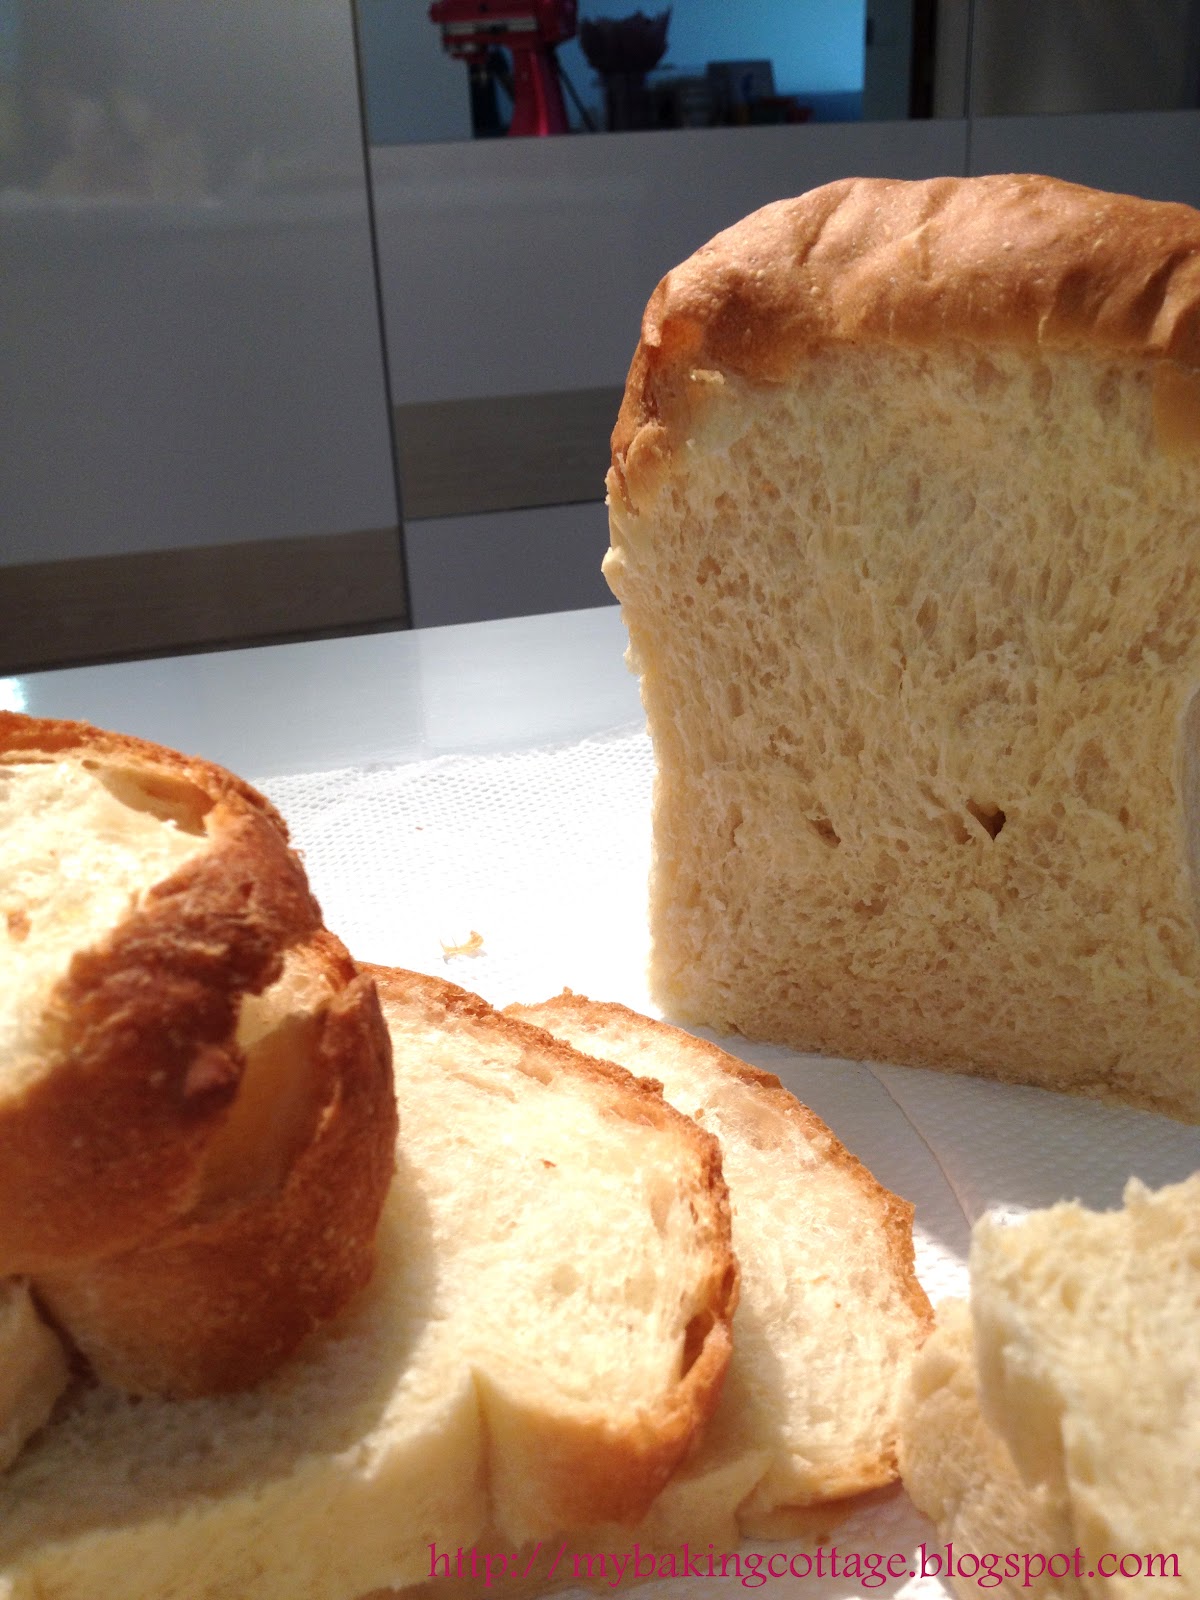
Another impediment to blogging is that after having used my brother's DSLR camera, I can no longer tolerate the pictures captured by my sony digital point and shoot camera! I know without my sony digital, I won't have mybakingcottage today. :P I'll have to say that the pictures taken by the iphone has a better resolution and produce clearer picture.
I'll just let the pictures bring this short post to an end. I'll try to post more food related postings if I can spare some time like today! :)
My beloved open-concept kitchen. It's a small kitchen but I love the counter top and so far around my neighbourhood, I've not seen anyone knocking down the kitchen wall and do up this kitchen design. So far not much of a problem with the grease and oil with simple stir-frying. :)
This is our family's portluck housewarming in Jan. :) I like how the mirror appears as though the food doubled. :)
View from my window. Nothing fantastic, just the playground from my 5th floor unit. :)


 This is retro doesn't it. My boss exclaimed: Oh my botanic garden time! *lol*
